
Addressing Seam Rust in Classic Car Restorations
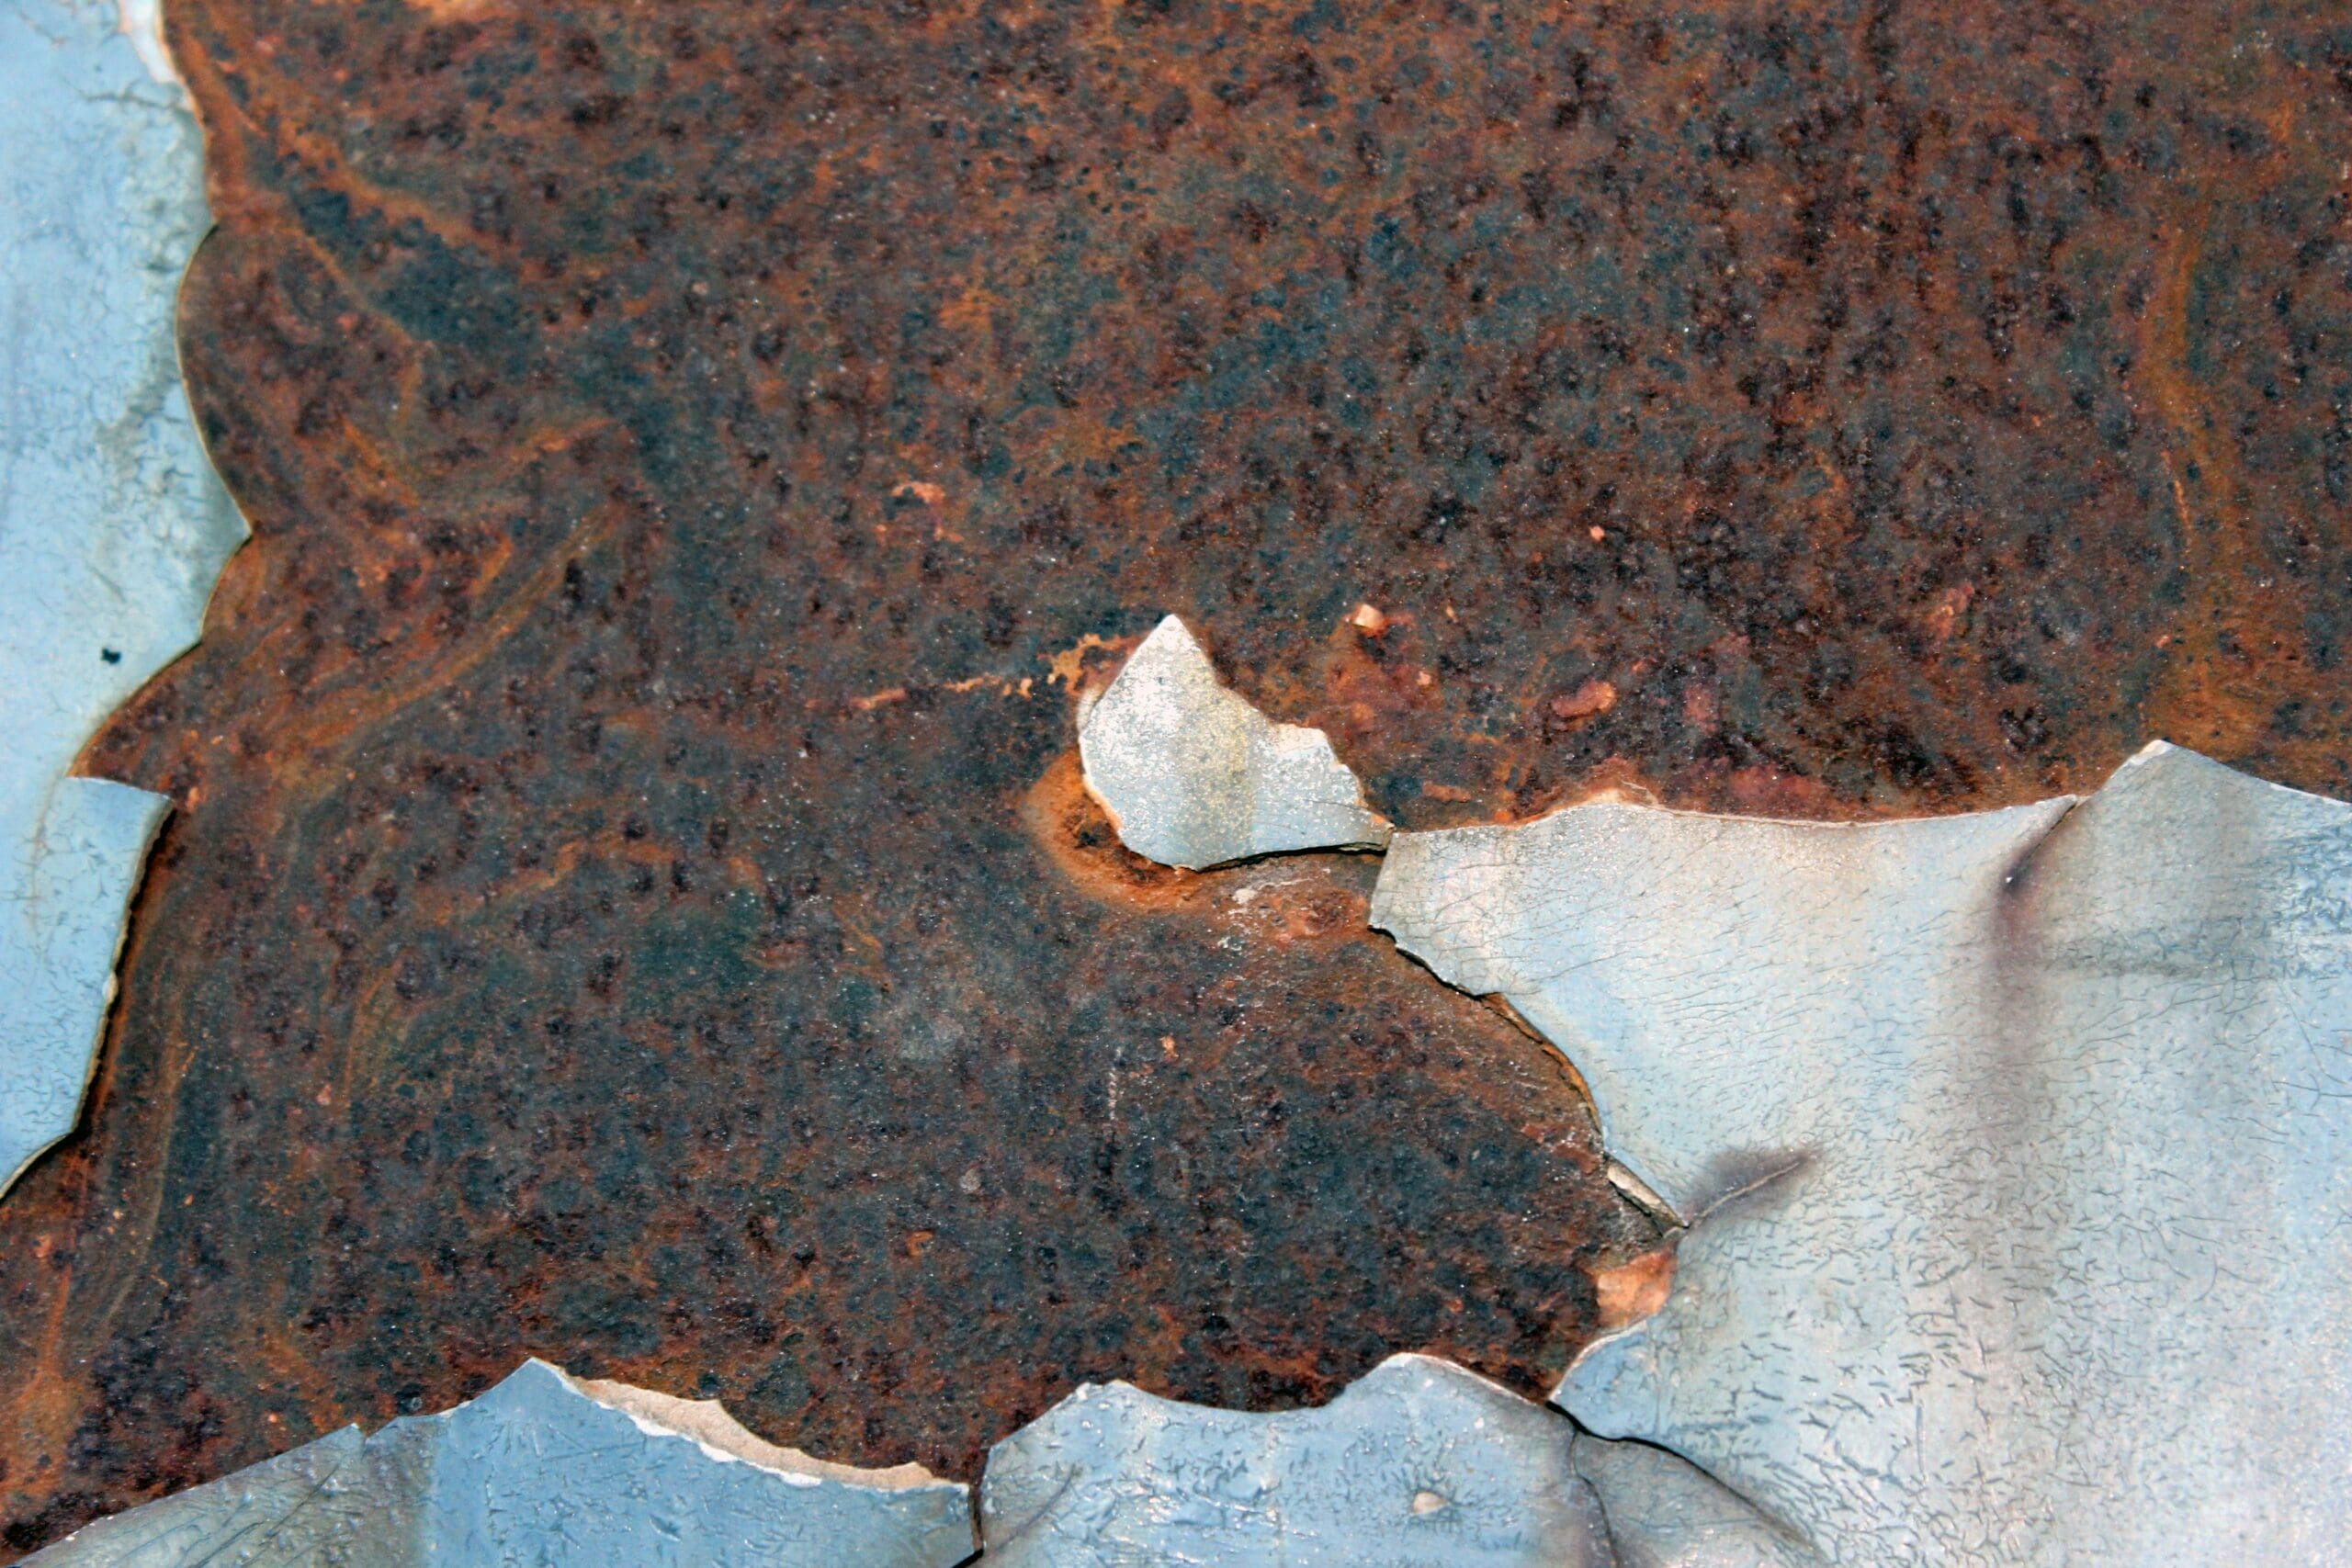
Short Answer: Correcting seam rust on a classic car means cutting out every trace of the corroded metal, welding in a properly formed replacement panel, and rebuilding the seam using the method the factory actually used. This could be lead (body solder) on cars that were leaded from the factory, or weld-through primer and seam sealer where that’s the correct approach. Skipping any of those steps, especially bridging rust with body filler instead of new steel, just buries the problem under paint until it reappears in a year or two.
If you’ve found bubbling paint along a door skin, rocker panel, or trunk lip, you already know the sinking feeling. Maybe a shop already quoted you a “seam repair” and you’re wondering if that price is too good to be true. It usually is, if it doesn’t involve cutting anything out.
At Auto Art, we work on leaded seams and structural rust repair on vintage vehicles every week, and we don’t rely on filler to hide a problem that filler can’t fix.
This article walks through what’s actually happening inside a rusted seam, the shortcuts that make it look fine for a season before it fails, and the process we use to close it out for good.
Why Does Rust Start at a Seam in the First Place?
Seams trap moisture between two layers of metal, so they rust from the inside before it ever shows on the surface. Anywhere two panels overlap — a rocker seam, a door skin folded over its frame, a trunk lip — water gets pulled in by capillary action and has nowhere to evaporate. Factory drainage paths clog over decades, old sealer cracks, and the metal starts corroding in a spot you can’t see or reach without opening the seam up.
By the time paint is bubbling on the outside, the rust underneath is almost always further along than it looks. That’s the uncomfortable part of this topic, and it’s why a quick visual estimate over the phone is never reliable. A proper look means probing the seam, and sometimes drilling a small test hole, before anyone can tell you what’s involved.
Collision repair standards published by I-CAR make the same point about any repaired area. Corrosion protection that gets disturbed has to be fully restored or it becomes a hot spot for exactly this kind of hidden failure.
What’s Wrong With Just Filling a Rusted Seam on a Car?
Body filler bridges a gap, but it doesn’t stop rust that’s already active underneath it. Filler sands smooth, primes well, and looks perfect under a fresh coat of paint — for a while. It has no corrosion resistance and no structural strength. So any rust left beneath it keeps working, and the filler eventually cracks or the bubbling comes back through the new paint.
The honest fix is less convenient: cut out the compromised section of metal entirely, not just the visibly rotten part, and weld in new steel shaped to match the original panel contour.
It costs more up front than a skim coat, and it takes longer. It’s also the only version of this repair that’s still solid five or ten years later. Which is the whole point of a restoration in the first place.
Do You Need Lead, or Is Seam Sealer Enough?
It depends on how the car left the factory, and getting this wrong is one of the most common mistakes we see on cars that already had “restoration” work done elsewhere. Many vintage vehicles used lead — body solder — at factory seams because it bonds to steel, flows into the joint, and expands and contracts at nearly the same rate as the surrounding metal.
Modern plastic filler doesn’t move the same way. On a car leaded from the factory, substituting filler at that seam creates a repair that telegraphs through paint or cracks the first time the panel flexes in the heat.
On the other hand, not every seam on every car was leaded, and forcing lead into a joint that was originally sealed with seam sealer is its own kind of overcorrection.
Restoration guides on lead loading are consistent on this: the goal is matching the original construction method for that specific seam, not applying one technique everywhere out of habit. This is a case where knowing the car’s actual build era and factory process matters more than a generic rule.
Why Does Rust Come Back Even After a “Complete” Repair?
A seam that’s welded shut without corrosion protection on the inside just starts the same rust cycle over again, invisibly, from day one. This is the failure we see most often on cars that were “fixed” before they came to us. The outside looks clean and painted. Inside the closed cavity, bare steel was never primed or sealed before the panel went back together, so moisture starts collecting in the exact same spot — it just takes longer to show.
Correcting this the right way means treating the interior of the seam before it’s closed. Weld-through primer on the mating surfaces, and a corrosion inhibitor in cavity areas that stay damp longer than the rest of the car. It’s an extra step nobody can see once the panel’s closed up, which is exactly why it’s the one that gets skipped by shops trying to save an afternoon.
Does Seam Rust Repair Happen Before or After Paint?
Panel fitment and alignment need to happen during the metalwork stage, not after paint goes on. A rushed seam repair sometimes gets bolted back on close enough, painted, and adjusted later. Which means gaps, uneven body lines, or a seam that doesn’t sit flush with the panels around it. Doing the alignment first means every gap and line is checked and corrected while the metal is still bare, so the paint stage is finishing a body that’s already right, not covering one that isn’t.
Getting Your Seam Rust Repaired the Right Way
Seam rust is rarely as simple as it looks from the outside, and rarely as bad as it looks either. The real answer depends on what’s actually happening under the paint. The fix that lasts always includes removing the corroded metal completely, rebuilding the seam using the correct factory method, and protecting the inside of that seam before it’s closed back up. Skip any one of those and you’re paying to have the same problem come back.
At Auto Art, that’s the standard we hold every seam repair to, on every classic and vintage vehicle that comes through our shop in Marion. If your car has rust working its way through a seam, get it evaluated before it spreads further than it needs to.
See Our Metal Fabrication Work
Common Questions About Seam Rust Repair
Can seam rust be fixed without cutting out any metal?
Only if the rust is truly surface-level surface staining with no pitting into the steel — genuinely rare on a seam, since that’s where moisture collects first. If a probe finds any pitting or the metal flexes where it shouldn’t, cutting it out is the only repair that lasts.
How do I know if my seam rust is cosmetic or structural?
Location matters more than appearance. Rust at a rocker panel, floor pan seam, or frame rail touches structural integrity and needs a full evaluation. Rust at a trunk lip or non-structural trim seam is usually more contained, but still needs the same full-removal approach to stop it from spreading.
Does seam rust always mean the whole panel needs replacing?
No. In most cases we cut out and replace the affected section and weld it into the existing panel, rather than replacing the entire piece. Whole-panel replacement is reserved for cases where corrosion has spread too far to leave enough sound metal to weld to.
What’s the real difference between lead and seam sealer?
Lead (body solder) is a metal filler that bonds to steel and moves with it, used at visible factory seams on many vintage cars. Seam sealer is a flexible compound applied to close a joint against water and isn’t meant to be shaped or finished like lead. Using the wrong one at the wrong seam is where a lot of “restoration” work quietly goes wrong.
How much does correcting seam rust cost?
It varies with how much metal has to come out and whether the seam was originally leaded, which takes more time and skill than modern seam sealer. Ask any shop for a breakdown of what’s being cut, welded, and finished — a vague single number, with no explanation, is a red flag on this particular repair.
Can I just keep driving with visible seam rust and deal with it later?
You can, but rust doesn’t pause. The longer moisture sits in a seam, the more metal it compromises, and what would have been a contained repair today can turn into a panel replacement in a year or two.
